Installing the Mac Print Scout
Before installing Mac Print Scout, read the Mac Print Scout Overview document.
When the Mac Print Scout installation package is finished downloading, control-click the MacPrintScout.pkg file, choose Open from the shortcut menu. Click Open from the pop-up warning message (if prompted), and complete the following steps:
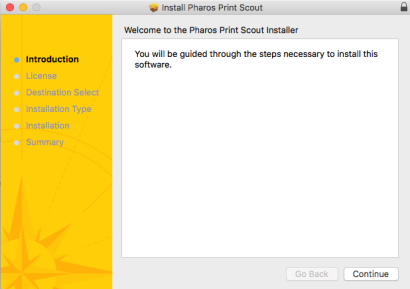
- On the introduction, click Continue to proceed with the installation.
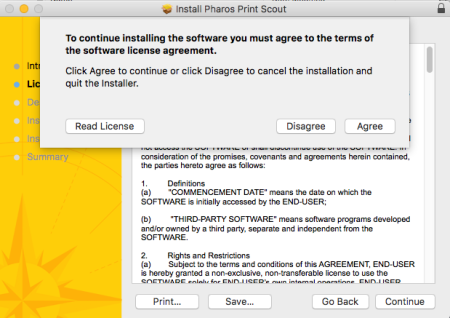
- Read and accept the terms and conditions of the End User License Agreement. Click Continue.
- Click Agree to accept and continue with the installation.
-
Review the installation details. If you do not wish to make changes to the install location, proceed with the installation by clicking Install.
-
If you happen to select Change Install Location..., you will be presented with the Select a Destination screen. When you are happy with the selected destination, select Continue.
-
Administrator privileges are required to continue with the installation. Enter the Admin Name and Password for this Mac workstation, then click Install Software.
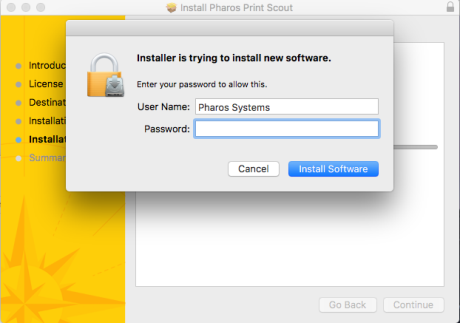
You will be asked to provide an account name and password with administrator privileges so that you can configure and register the Mac Print Scout. Supply this information and click OK.
- When the installation has completed, a screen appears indicating a successful installation. Click Close to exit the installer.

-
The Print Scout Configuration Dialog opens. The Print Scout is automatically registered with Pharos Cloud. If the registration is successful, you will see the following message: Successfully confirmed registration with the server.
Configuration
If you need to change the Server specified, select the Configuration tab, shown below. Then, enter the server address of the Pharos Cloud to which the Mac Print Scout will be registered. Typically, the default server information presented is correct.
If you use a proxy server to communicate to the outside world, enter that information as well. When done establishing server and proxy settings, click Apply.
Verify installation
Once a Mac Print Scout has been deployed to a workstation, you can verify the status of each installation from Pharos Cloud. The Discover > Print Scout page displays details about the individual machines on which a Mac Print Scout has been installed. A successful installation is indicated by an "OK" status under the "Scout State" column.
After Print Scout Installation
For organizations with Secure Release license, the following components will be installed on user workstations.
- A print queue named Pharos Secure Printer is automatically installed on user workstations.This queue is configured to capture printing sent via the port monitor.
- The Pharos Secure Release Setup Guide is also installed on user workstations. This wizard guides users through activating Secure Print on their workstation and mobile device.
- A new service called SpoolerServiceMac is installed to provide Secure Releaseprinting services.
Related Topics: